Showing posts with label FREE Tutorials. Show all posts

Sunday, May 17, 2009

Finishing Neatly - My #1 TIP!!!

22 comments
Oooh, I'll bet I got your attention with that one! Since details are what makes a piece (IMHO!!) I'm ALL ABOUT a neat finish on handmade items. I've seen people ask for critiques and complain that their wire jewelry isn't selling. Most of the time when I look at it,the major critique that I could offer is that they need practice in finishing.
Neat and intentional finishes are absolutely imperative! It is a bonus if it only takes seconds. So in the interest of creating those neat finishes in wirework, I'm going to offer my number one tip for creating a neat finish. This is an excerpt taken from my Winter Wreath Earring and Variations Tutorial. I actually love this tutorial, and teach it often - it features a simple earring style with lots of punch. But the real value is in the basic tips and technique, which make it infinitely versatile!

Here we go:
These next few steps are the method I use to get my wrap ends neat, and practically invisible. It virtually eliminates the issue of ends showing OR snagging - meaning that finding a 'no-show' place to tuck them in is a thing of the past!!!!!!!
WinterWreathEarrings12
Using chain nose pliers, flatten the end of the wire as shown. Use just enough force to flatten without too much spreading.
WinterWreathEarrings12
Create a long point on the tail by cutting a small diagonal with your flush cutters - on ONLY one side. Try to make the cut from one end of the flattened area to the other.
TIP: For this process, a short, almost horizontal cut is not useful. That's what leaves those gaps between wraps and beads!
WinterWreathEarrings12
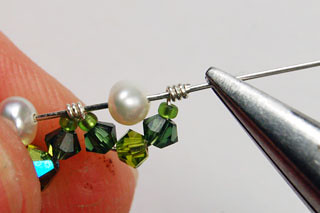
IMPORTANT: If the pointed side is away from to the existing wraps, then the end result is almost like a flush cut, once everything is pressed down. If the point is reversed, or next to the wraps, as shown here - then it creates a more flush, but slightly conical ending that will 'disappear' into bead holes.
WinterWreathEarrings12
Lightly secure or 'tuck' the tail down onto the core wire with the chain nose pliers. Make sure the point is pressed down. Using a light pressure, rotate the pliers a few times around the wrap. I call this the 'Twist 'n Crimp' move. It doesn't take much force - just lightly skim the metal with the pliers as you rotate them. Repeat as necessary. The wrap should still be able to rotate on the core. This process is called 'burnishing'.
Because the tail was flattened, it will lie very close to the core. Because it was cut diagonally, there will not be a noticeable gap between the wrap and the subsequent work.

There you have it!

WinterWreathEarrings12Sometimes it can be difficult to tuck in that final end. Use the help of an extra set of pliers. I like bent chain nose pliers for this, because they hold the work securely, but offer more room to maneuver.
TIP:Try to stay away from your round nose pliers for this job, or any job that requires holding the wire firmly. Using them is the reason that most loops have divots and tool marks.

Hope this has been helpful, or at least enlightening. I know it seems like me being nit-picky to some folks - I hope it isn't the same ones who ask me how I get my work so neat and precise.

Be careful what you wish for, it might be far more detailed than than you thought!

Be gentle with yourselves,
Perri

Monday, January 12, 2009

More Changes, More Free Tutorials!

15 comments
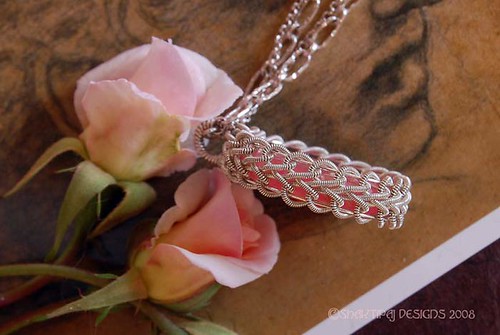
I'm so excited! I get to do two things at once here! I know you read the word 'FREE', (and we'll get to that) but as we all know, nothing really good is ever really free - so here is your payment: You have to look at eye candy, and you have to read about my new Celtic Braid Tutorial available at www.ShaktipajDesigns.etsy.com.

So here is the eye candy part.This is the tutorial intro pic -the details for the project are in the Etsy shop. ;^)


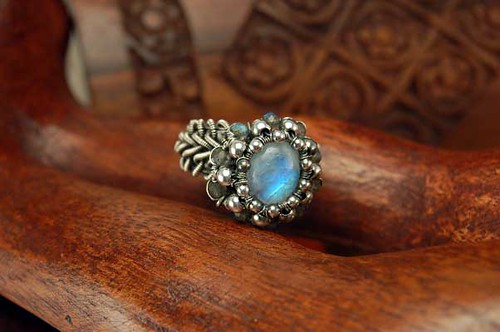
And here are some interesting things I've made with the weave!


OK! You have paid your dues, now here is the 'FREE', part!

I want give you the opportunity to get my free tutorials, AND I started a new blog. The links below will re-direct you there to download them!!! You don't have to buy anything, or sign up for anything. Just enjoy them and let me know if you like them. Heck, I won't even go that far - drop me a line, if you feel like it! But I really want you to be successful in working with wire. It is the most fun I've ever had while I worked, so I'll just pass it on.

All of these tutorials will help you create those little details that make wirewrapping so satisfying. The best tools you can acquire are imagination and knowledge!

Thanks for reading! With gratitude, Perri

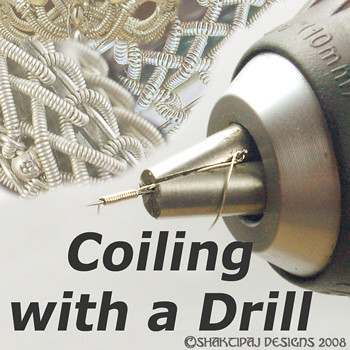
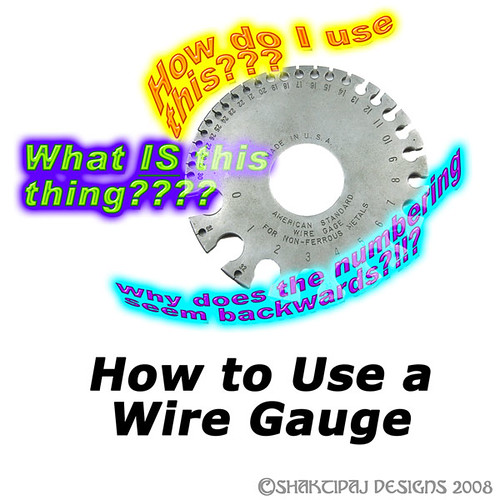
Just click on any of the following pics for a link to the corresponding PDF download. Download sizes from top: (297KB), (603KB), (852KB), (251KB)


DOWNLOAD Fixing Crooked Bead CapsDOWNLOAD Coiling With a DrillDOWNLOAD Hand Wrapping CoilsDOWNLOAD How to Use a Wire Gauge

Sunday, January 4, 2009

New Free Wire Tutorials - Back to Basics

17 comments

As some folks know, I write jewelry tutorials. I currently sell them through my Etsy site: www.ShaktipajDesigns.etsy.com.

I promised some changes for 2009 and here is the first installment: my new free tutorial series, BACK TO BASICS and MORE!

The first lesson: Wire Weaving Basics. This lesson will show you two different methods for weaving wire in a pattern, and some solid guidelines for weaving any pattern. It focuses on weaving in tight closed spaces. Just click the sophisticated lady for a link to the PDF download!

NOTE: This link takes you to my new blog, where you can download ALL of my Free Tutorials. :^D


DOWNLOAD WIRE WEAVING BASICS

I started because I was asked to share some techniques, and because many of the tutorials I had seen left a lot to be desired. It seems many people are putting out tutorials without giving real value. Many of the tutorials have out of focus pictures, repetitive photos, and big holes in the explanations. Worse, the people putting them out are not experienced enough actually be qualified to teach others - but you don't find out that they really don't know any more than you do until you've paid the money.

My personal problem with many tutorials is their insistence on a 'Dragnet' delivery - remember the old TV show? "Just the facts, Ma'am." Yes, we're here to learn a technique, but that doesn't mean it should read like an accounting book. Come to think of it, I've read accounting books that were more interesting...............I got into wire working because it was exciting to me! Because it NEVER fails to pique my interest, because it is a puzzle with a prize at the end! To my mind, a tutorial should communicate that kind of intense interest in the author.

But I think the greatest failure of many of the tutorials I've seen - free or paid - is their lack of instruction. Now, that may seem like a funny thing to say, but here is what I mean: They provide a sort of recipe for making the project at hand, but they don't give you the benefit of their expertise and experience by letting you know the challenges you may face. More importantly, how to avoid and fix mistakes! In a word: Troubleshooting!

There are so many of these, that beginners and some more advanced students seem to accept certain problems in their wirework, because it is not easy to find understandable, complete, comprehensive instructions for quite simply, doing the work correctly!

I've decided to try to remedy some of that! I know there is no one way of understanding or teaching that reaches everybody, but I'm going to try to add to the knowledge base in a way that actually lets people know what they may be missing.
If you don't like a bit of humor, don't download them, please. I really try not to write dry tutorials, so I crack a joke once in a while. If you like your instructors to be demigods, sinless, blameless, and nearly perfect in every way - don't download them - PLEASE! In most of them, I freely admit to quite a few failings - otherwise, I wouldn't have much to share with you in the way of troubleshooting.

If you like understandable, complete, comprehensive, and of course, DETAILED instructions, with a dash of humor and LOTS of troubleshooting - WELCOME to BACK TO BASICS and MORE!


Shaktipaj Designs Copyright © 2008 Black Brown Pop Template by Ipiet's Blogger Template