So it is 2010. Time for introspection, re-evaluation. Time for a re-statement of my personal values.
Time, for once in my life - to say what I give a crap about without being afraid.
All my life, I've felt out of place, struggled to say the thing that will make people like me enough to listen to what I think is important. I'm done with that. Hell or high water, I'm saying it anyway. Because at at 51, it is time to be done with fear, or embrace it as a sign you are going in the right direction.
I'm really afraid I'm too old - that too much time has gone by, that no one will accept that I'm transforming myself from a persnickety, perfectionist, complaining, bitch into a person who simply tells it as she sees it, then acts accordingly.
What good is having worked to be an expert in your field if you can't share the pragmatics of that in a REAL way?
It is time to talk about the things I really believe without sugar coating. It is time to make myself proud.
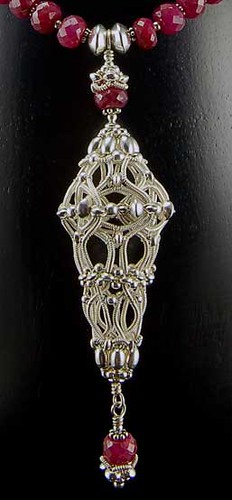
To that end, here is something I'm proud of: I've always given credit for my personal inspirations in my jewelry making. It doesn't take any skin off my nose or devalue my work if I do. Yes, it goes beyond the legal requirements. It is the ethical and courteous thing to do. But it seems that courtesy and ethical practice are difficult for some people.
This is a dead horse for many people. I really don't care. Whether they are just tired of the subject or are 'protesting too much' like the lady in the play doesn't matter. What matters to me that my work and name are associated with people who do the ethical and courteous thing.
Don't get all bent and tell me we can't give credit because we would have to go back to the beginning of time. BS!!! This doesn't require a separate book of the bible - all it takes is a little painless "I was looking at so-and-so's work and got the idea for this."
That's it. That's all it takes to not be branded a thief and a liar. That's all it takes to move forward cleanly with our art and craft.
But if we fail to mention this, or worse, claim that we have not ever seen rather popular work that ours resembles, then we are at the very least, liars.
So with that in mind,I'm going to ask a question with a few links:
How can someone who made these:http://www.lbjewelrydesigns.com/shop/indian-weave-ear-rings-p-173.html
admittedly from this tutorial:http://www.izamalczyk.com/en/tutorial-4-21.html
Later claim that she had not seen this piece by the same tutorial writer:http://www.izamalczyk.com/en/gallery-2-276-1825.html
While she writes a tutorial for this:http://www.lbjewelrydesigns.com/shop/woven-bezel-turquoise-pendant-p-240.html
Unfortunately, she deleted all commentary that included her denial, but there are those who remember, those who actually held a conversation about it - including a digital source- the way back machine.
I really want to know how this is anywhere near ethical or courteous. Really I do. Heck, I even gladly participated in her effort to refine the double sided version of this.
I would not bother with this if she had not denied knowledge of her inspiration at the time she made the piece on a very well known site. All it would have taken is simple acknowledgment.
Somebody answer and help me see this in a better light - PLEASE! So that is my re-evaluation. I'm not sitting back and letting things like this go any more. I'm standing up for details of ethics and courtesy. And I'm going to do it when it happens.
Perri
 Seems to fit, right?